Open a company’s job codes
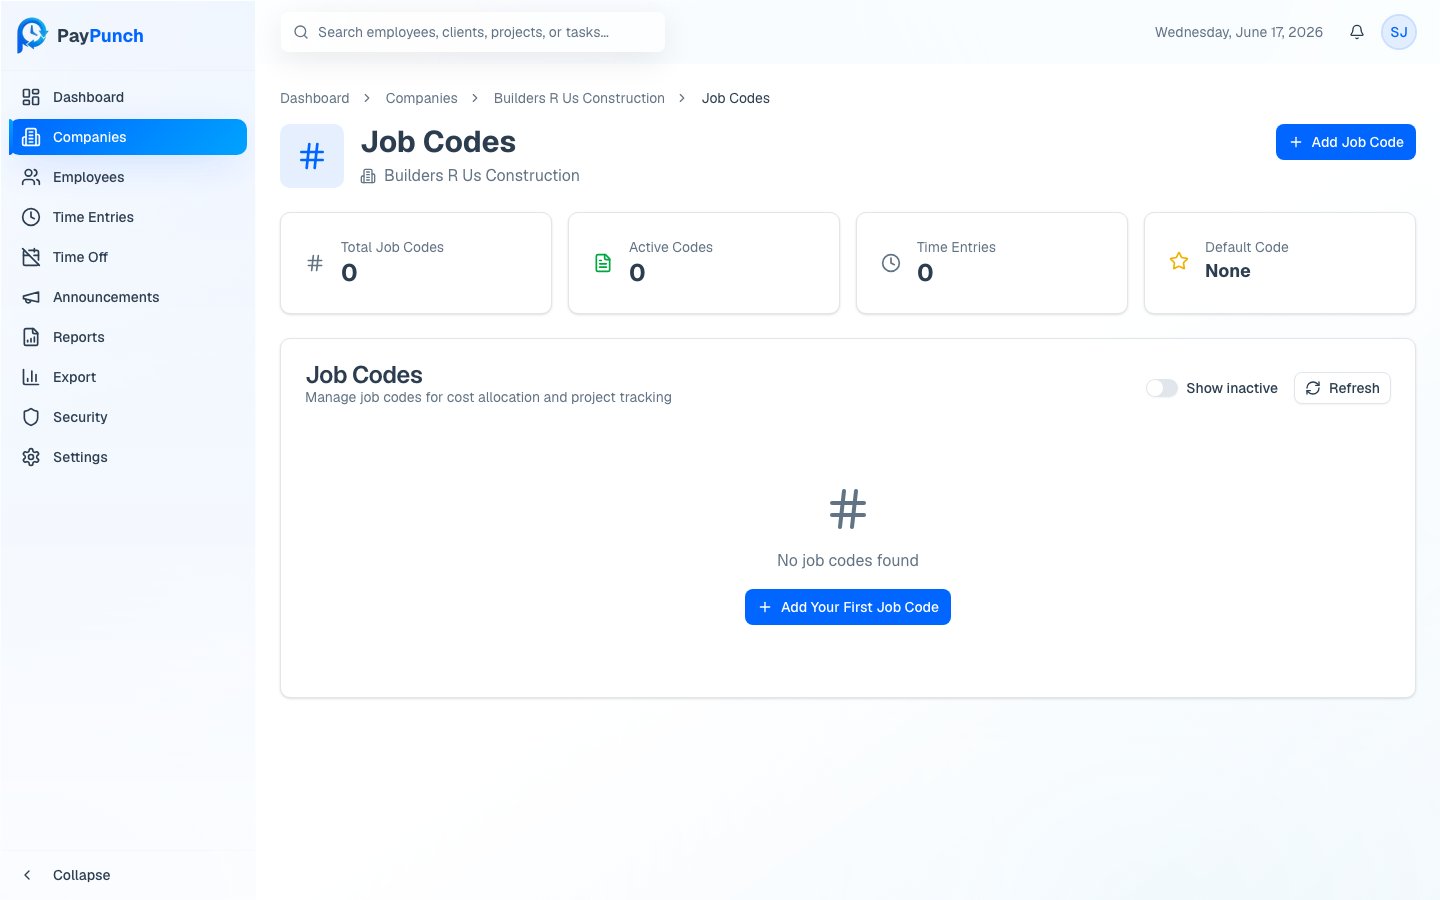
From a company’s detail page, open Job Codes. The breadcrumb shows Dashboard → Companies → → Job Codes. Summary cards at the top show Total Job Codes, Active Codes, Time Entries (total usage across all codes), and the current Default Code. The table lists each code with its Code, Description, Bill Rate, Default marker, Status, and Usage count.Add a job code
Enter the code
Type a Code (required) — letters, numbers, hyphens, and underscores only;
it’s automatically uppercased (for example,
PROJ001).Add optional details
Add a Description (for example, Main construction project) and a
Bill Rate ($/hr).
Optionally make it the default
Toggle Set as default job code so this code is pre-selected for new time
entries.
Edit or set a default
Use the ⋯ (more) menu on any row:- Edit — change the code, description, bill rate, default flag, or active status.
- Set as Default — mark this code as the company’s default (available on active, non-default codes). Only one code is the default at a time.
- Deactivate / Reactivate — toggle whether the code can be used on new entries.