

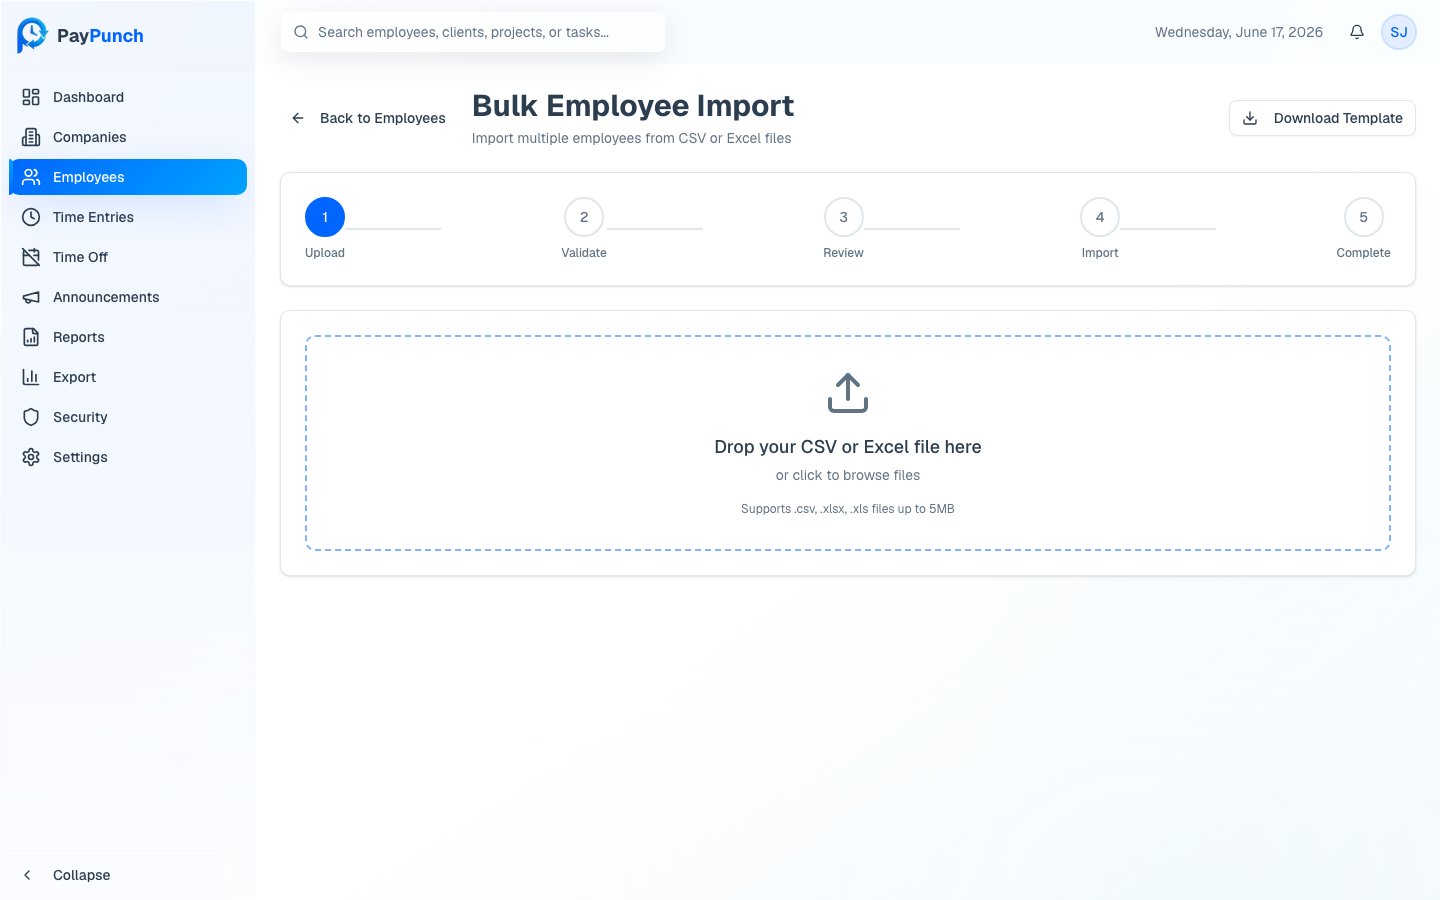
Open the importer
From the Employees page, click Bulk Import. The importer walks through five steps shown across the top: upload → validate → review → import → complete.Step 1 — Download the template
Click Download Template to get a correctly-formatted CSV to fill in. The template includes the standard employee columns (such as first name, last name, email, phone, employee number, job title, department, hire date, pay rate, pay type, and PIN).Step 2 — Upload and validate
1
Choose the company
Pick the client company the new employees belong to.
2
Upload your file
Drop in your filled-out CSV or Excel file. PayPunch shows a Preview with
the detected row count and column headers.
3
Validate the data
Click Validate Data. Every row is checked and sorted into valid and
invalid, with a summary of total / valid / invalid rows and any warnings.
Step 3 — Review results
The Validation Results panel lists each error and warning by row and field so you know exactly what to fix. If rows are invalid, click Start Over to upload a corrected file, or proceed and import only the valid rows.Step 4 — Import
Click Import Employees to create the valid records. An Import Progress bar shows how many of the total have been created. By default the importer:- Skips invalid rows rather than failing the whole import,
- Generates PINs for employees automatically, and
- can optionally send welcome emails.